SkyGridX Installation Guide for Minecraft 1.21.4 (Java 21)
Follow these steps to set up your SkyGridX plugin efficiently. This guide includes two options for installation: a quick automated setup or a detailed manual setup.
Quick Setup (Lazy Install)
If you'd prefer an automated process, you can use the install.bat script. This script will:
- Create the required folders (
plugins,world,datapacks). - Download and place the latest versions of the plugin (SkyGridX), datapack (Void-Biomes-1.21.04.zip), and Paper server JAR (Paper Server).
- Automatically sign the
eula.txt. - Generate a
run.batfile with default memory settings:-Xms1G -Xmx4G.
Steps:
Download the
install.batscriptView install.bat Source Code
@echo off

:: Set variables
set plugin_url=https://www.davids-repo.dev/skygridx/assets/SkyGrid.jar
set datapack_url=https://www.davids-repo.dev/skygridx/assets/Void-Biomes-1.21.04.zip
set paper_fetch_url=https://www.davids-repo.dev/fetch_latest_paper_build/

set plugin_folder=plugins
set world_folder=world
set datapack_folder=world\datapacks

:: Create necessary folders
echo Creating necessary server folders...
mkdir %plugin_folder%
mkdir %world_folder%
mkdir %datapack_folder%

:: Fetch the latest PaperMC download URL
echo Fetching latest PaperMC download URL...
for /f "tokens=*" %%a in ('curl -s %paper_fetch_url%') do set paper_url=%%a

:: Check if the paper_url variable was set correctly
if "%paper_url%"=="" (
    echo Failed to fetch PaperMC URL.
    exit /b 1
)

:: Download Paper server jar
echo Downloading Paper server jar...
curl -L -o server.jar %paper_url%

:: Download plugin
echo Downloading SkyGridX plugin...
curl -L -o %plugin_folder%\SkyGrid.jar %plugin_url%

:: Download datapack
echo Downloading datapack...
curl -L -o %datapack_folder%\Void-Biomes-1.21.04.zip %datapack_url%

:: Get current date and time
for /f "tokens=1-4 delims=/ " %%a in ('date /t') do set today=%%c-%%a-%%b
for /f "tokens=1-2 delims=:" %%a in ('time /t') do set time=%%a:%%b
set datetime=%today% %time%

:: Create and sign the EULA
echo Creating and signing EULA...
(
    echo #By changing the setting below to TRUE you are indicating your agreement to our EULA ^(https://aka.ms/MinecraftEULA^).
    echo #%datetime%
    echo eula=true
) > eula.txt

:: Create run.bat
echo Creating run.bat...
(
    echo @echo off
    echo java -Xms1G -Xmx4G -XX:+UseG1GC -XX:+UnlockExperimentalVMOptions -XX:G1NewSizePercent=30 -XX:G1MaxNewSizePercent=40 -XX:G1HeapRegionSize=8M -XX:G1ReservePercent=20 -XX:G1HeapWastePercent=5 -XX:G1MixedGCCountTarget=4 -XX:InitiatingHeapOccupancyPercent=15 -XX:G1MixedGCLiveThresholdPercent=90 -XX:G1RSetUpdatingPauseTimePercent=5 -XX:SurvivorRatio=32 -XX:+PerfDisableSharedMem -XX:MaxTenuringThreshold=1 -XX:+OptimizeStringConcat -XX:+UseCompressedOops -XX:+DisableExplicitGC -XX:+AlwaysPreTouch -XX:+ParallelRefProcEnabled -XX:+UseNUMA -XX:ParallelGCThreads=6 -XX:ConcGCThreads=6 -XX:MaxGCPauseMillis=200 -Dusing.aikars.flags=https://mcflags.emc.gs -Daikars.new.flags=true -jar server.jar --nogui
    echo pause
) > run.bat

:: Confirm setup completion
echo Setup completed! Starting the server...
echo Running server...

:: Run the server
call run.bat
Place the script in your server directory.
Run the script by double-clicking it.
Use the generated
run.batto start the server in the future.
Note:
- You can adjust the memory allocation (
-Xms1G -Xmx4G) in therun.batfile to increase or decrease server memory usage based on your machine's resources.- If you are hosting this for yourself only, your server address will be
localhost; you don't need to open any ports if it's only for you.
Manual Setup
For those who prefer more control over the installation, follow the steps below:
1. Prepare Server Launch
Create a
.batfile and paste the following commands to initialize the server:@echo off java -Xms1G -Xmx4G -XX:+UseG1GC -XX:+UnlockExperimentalVMOptions -XX:G1NewSizePercent=30 -XX:G1MaxNewSizePercent=40 -XX:G1HeapRegionSize=8M -XX:G1ReservePercent=20 -XX:G1HeapWastePercent=5 -XX:G1MixedGCCountTarget=4 -XX:InitiatingHeapOccupancyPercent=15 -XX:G1MixedGCLiveThresholdPercent=90 -XX:G1RSetUpdatingPauseTimePercent=5 -XX:SurvivorRatio=32 -XX:+PerfDisableSharedMem -XX:MaxTenuringThreshold=1 -XX:+OptimizeStringConcat -XX:+UseCompressedOops -XX:+DisableExplicitGC -XX:+AlwaysPreTouch -XX:+ParallelRefProcEnabled -XX:+UseNUMA -XX:ParallelGCThreads=6 -XX:ConcGCThreads=6 -XX:MaxGCPauseMillis=200 -Dusing.aikars.flags=https://mcflags.emc.gs -Daikars.new.flags=true -jar NameOfJar.jar --nogui pauseAdjust memory settings to suit your server. Replace
NameOfJar.jarwith your server's actual JAR file name.
Save the
.batfile and run it to initialize the server.
2. Sign the EULA
After running the
.batfile, locate and open theeula.txtfile in the server directory.Change
eula=falsetoeula=trueand save the file.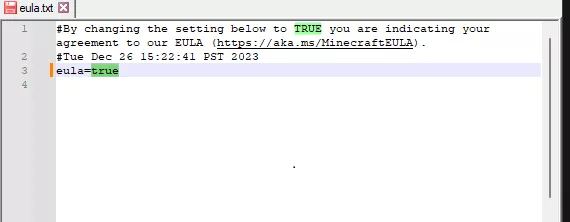
Do not restart the server yet. Continue with the next steps.
3. Download and Set Up Plugin & Datapack
Plugin Setup
Download the latest version of the SkyGridX plugin from SkyGridX.
Place the downloaded
.jarfile into thepluginsfolder of your server.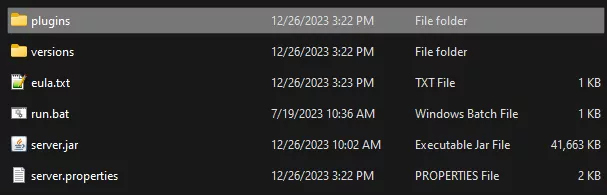

Datapack Setup
In the server directory, create a folder named
world.Inside the
worldfolder, create a folder nameddatapacks.
Choose and download one of the following datapacks:
- Option 1: Skyblock Void Worldgen
- Features: Biome data, structure bounding boxes, and some structures.
- Performance Impact: Higher server load due to additional data and features.
- Download Link: Skyblock Void Worldgen
- Option 2: Void-Biomes-1.21.03.zip
- Features: Lightweight alternative with only biome data and the End dragon structure (portal and pillars).
- Performance Impact: Lower server load.
- Download Link: Void-Biomes-1.21.04.zip
- Option 1: Skyblock Void Worldgen
Place the downloaded datapack into the
datapacksfolder.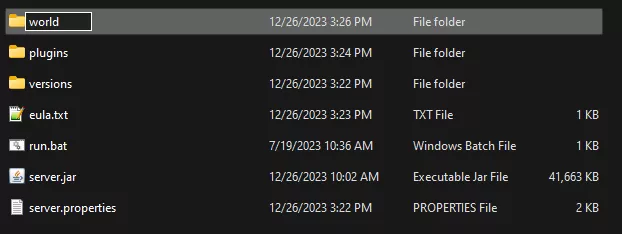

Important: Ensure the datapack is placed in the folder before starting the server to correctly generate the world.
4. Server Launch & World Generation
Re-run the
.batfile to start the server and generate the necessary files.Monitor the console output and wait for messages indicating the server is ready.
Be patient during world generation, as it may take some time depending on your datapack choice.
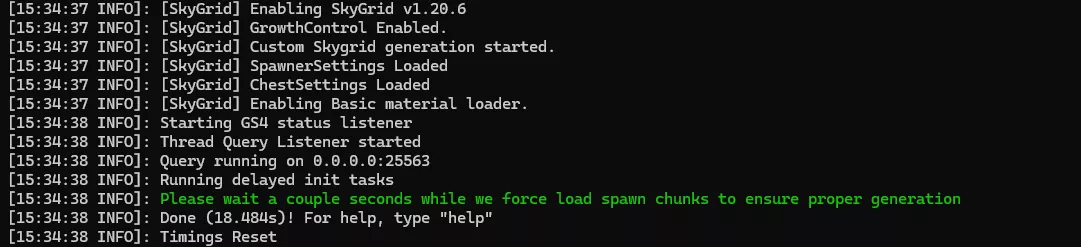
5. Enjoy the SkyGrid World
Connect to your server to explore your custom SkyGrid world.
Verify successful setup with a console message:
[INFO]: Chunks have been loaded. You can now connect!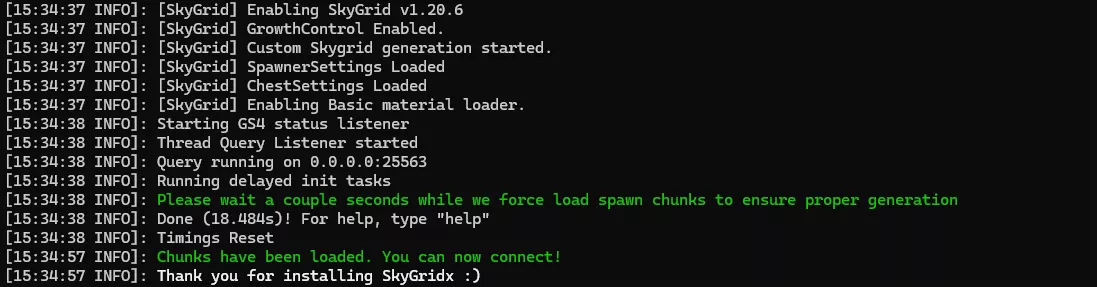
Additional Notes
- The SkyGrid plugin requires a Bukkit or Spigot-based server; for optimal performance use Paper or Purpur servers.
- For issues, feature requests or help, visit the discord.